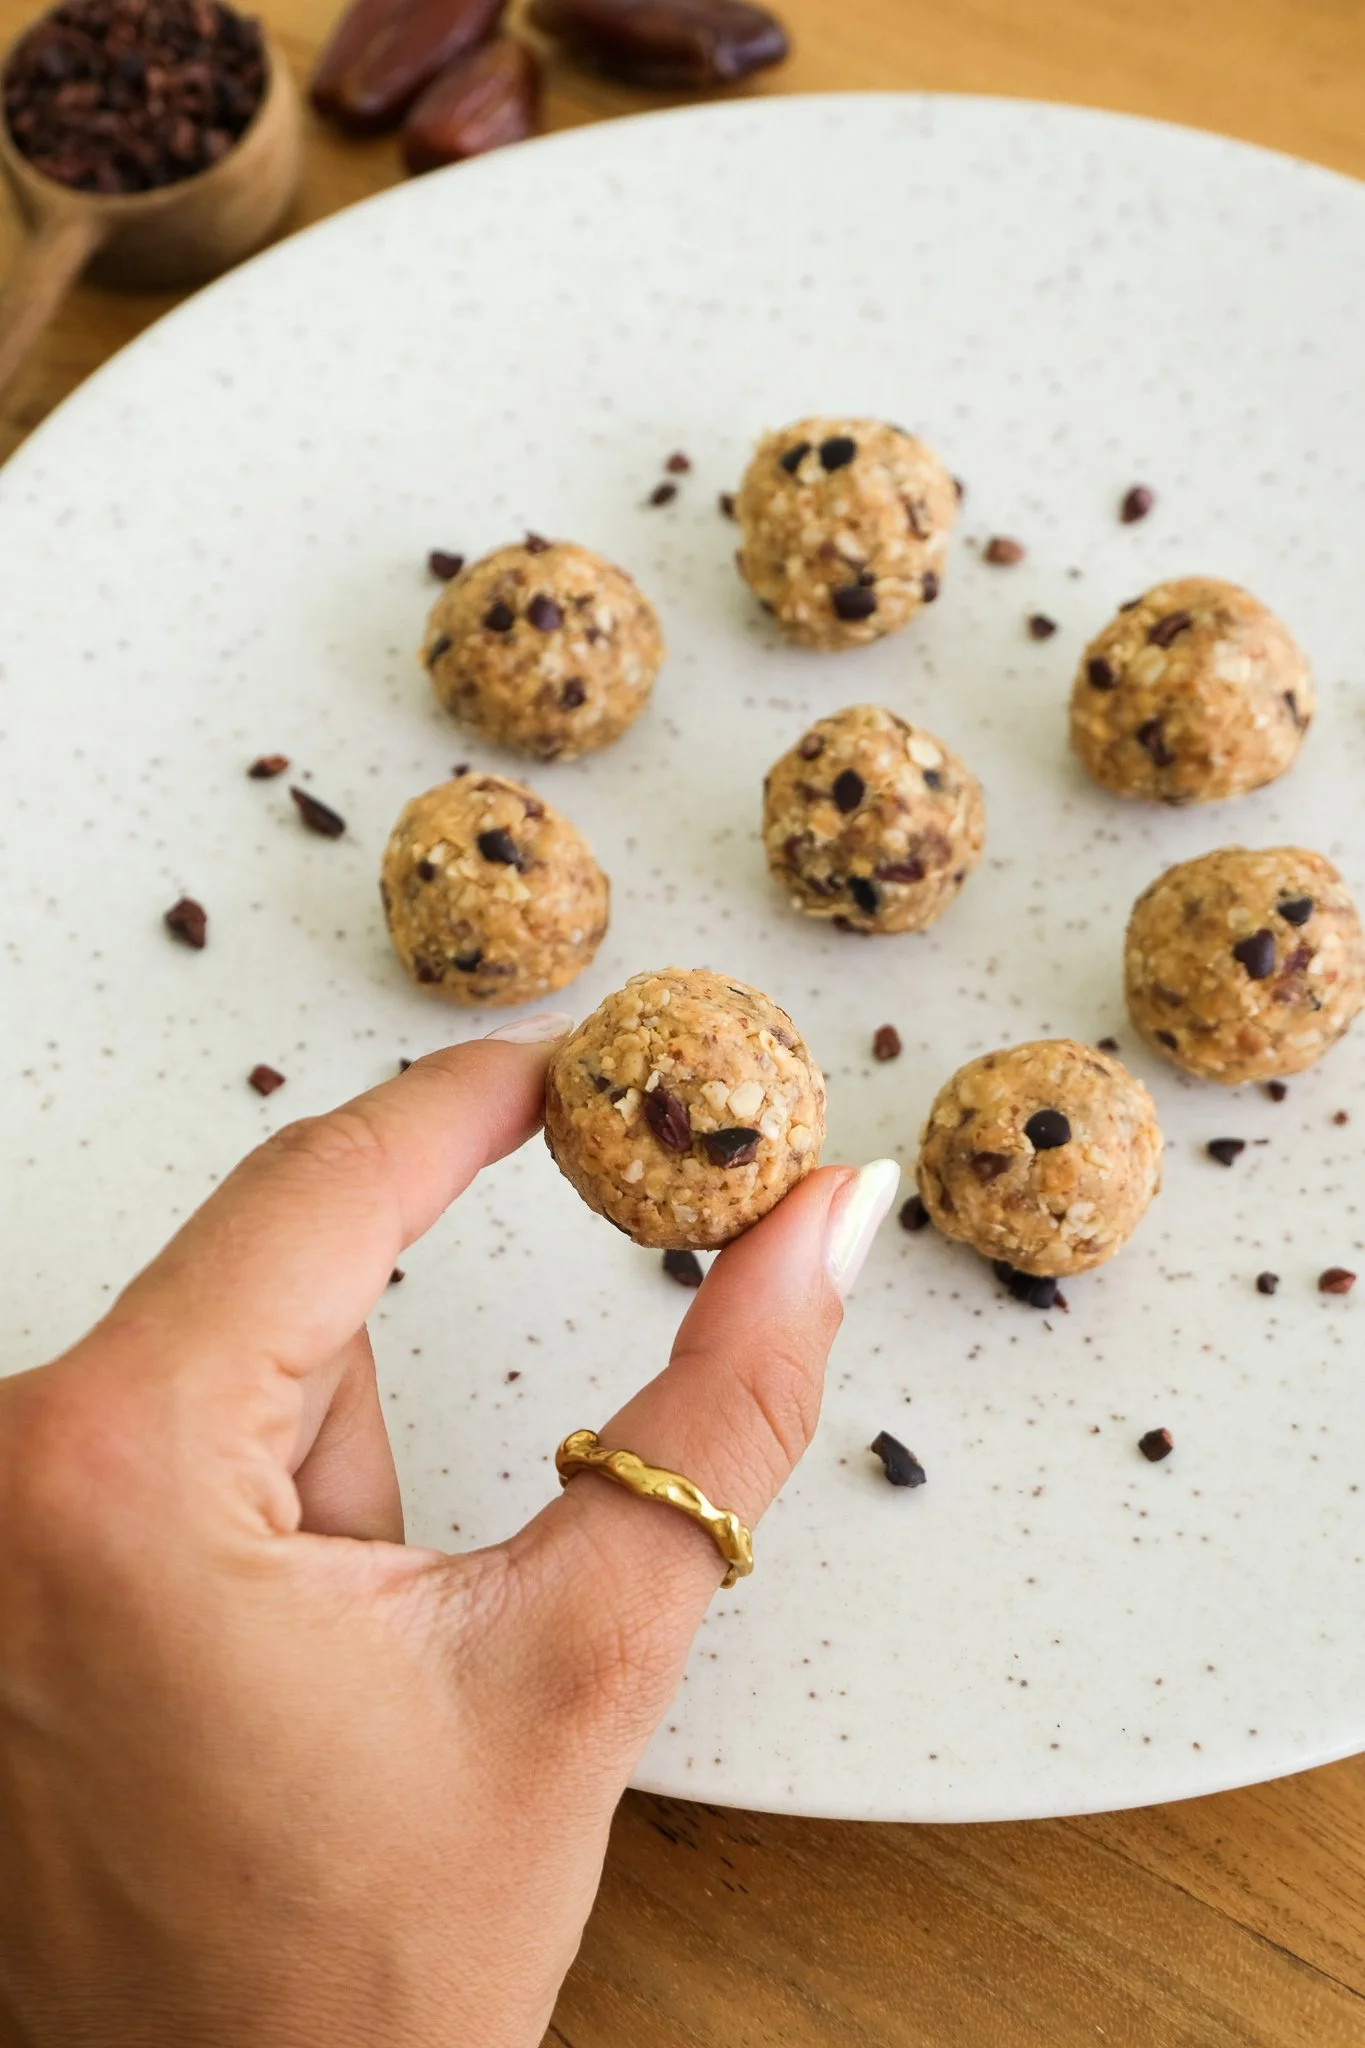
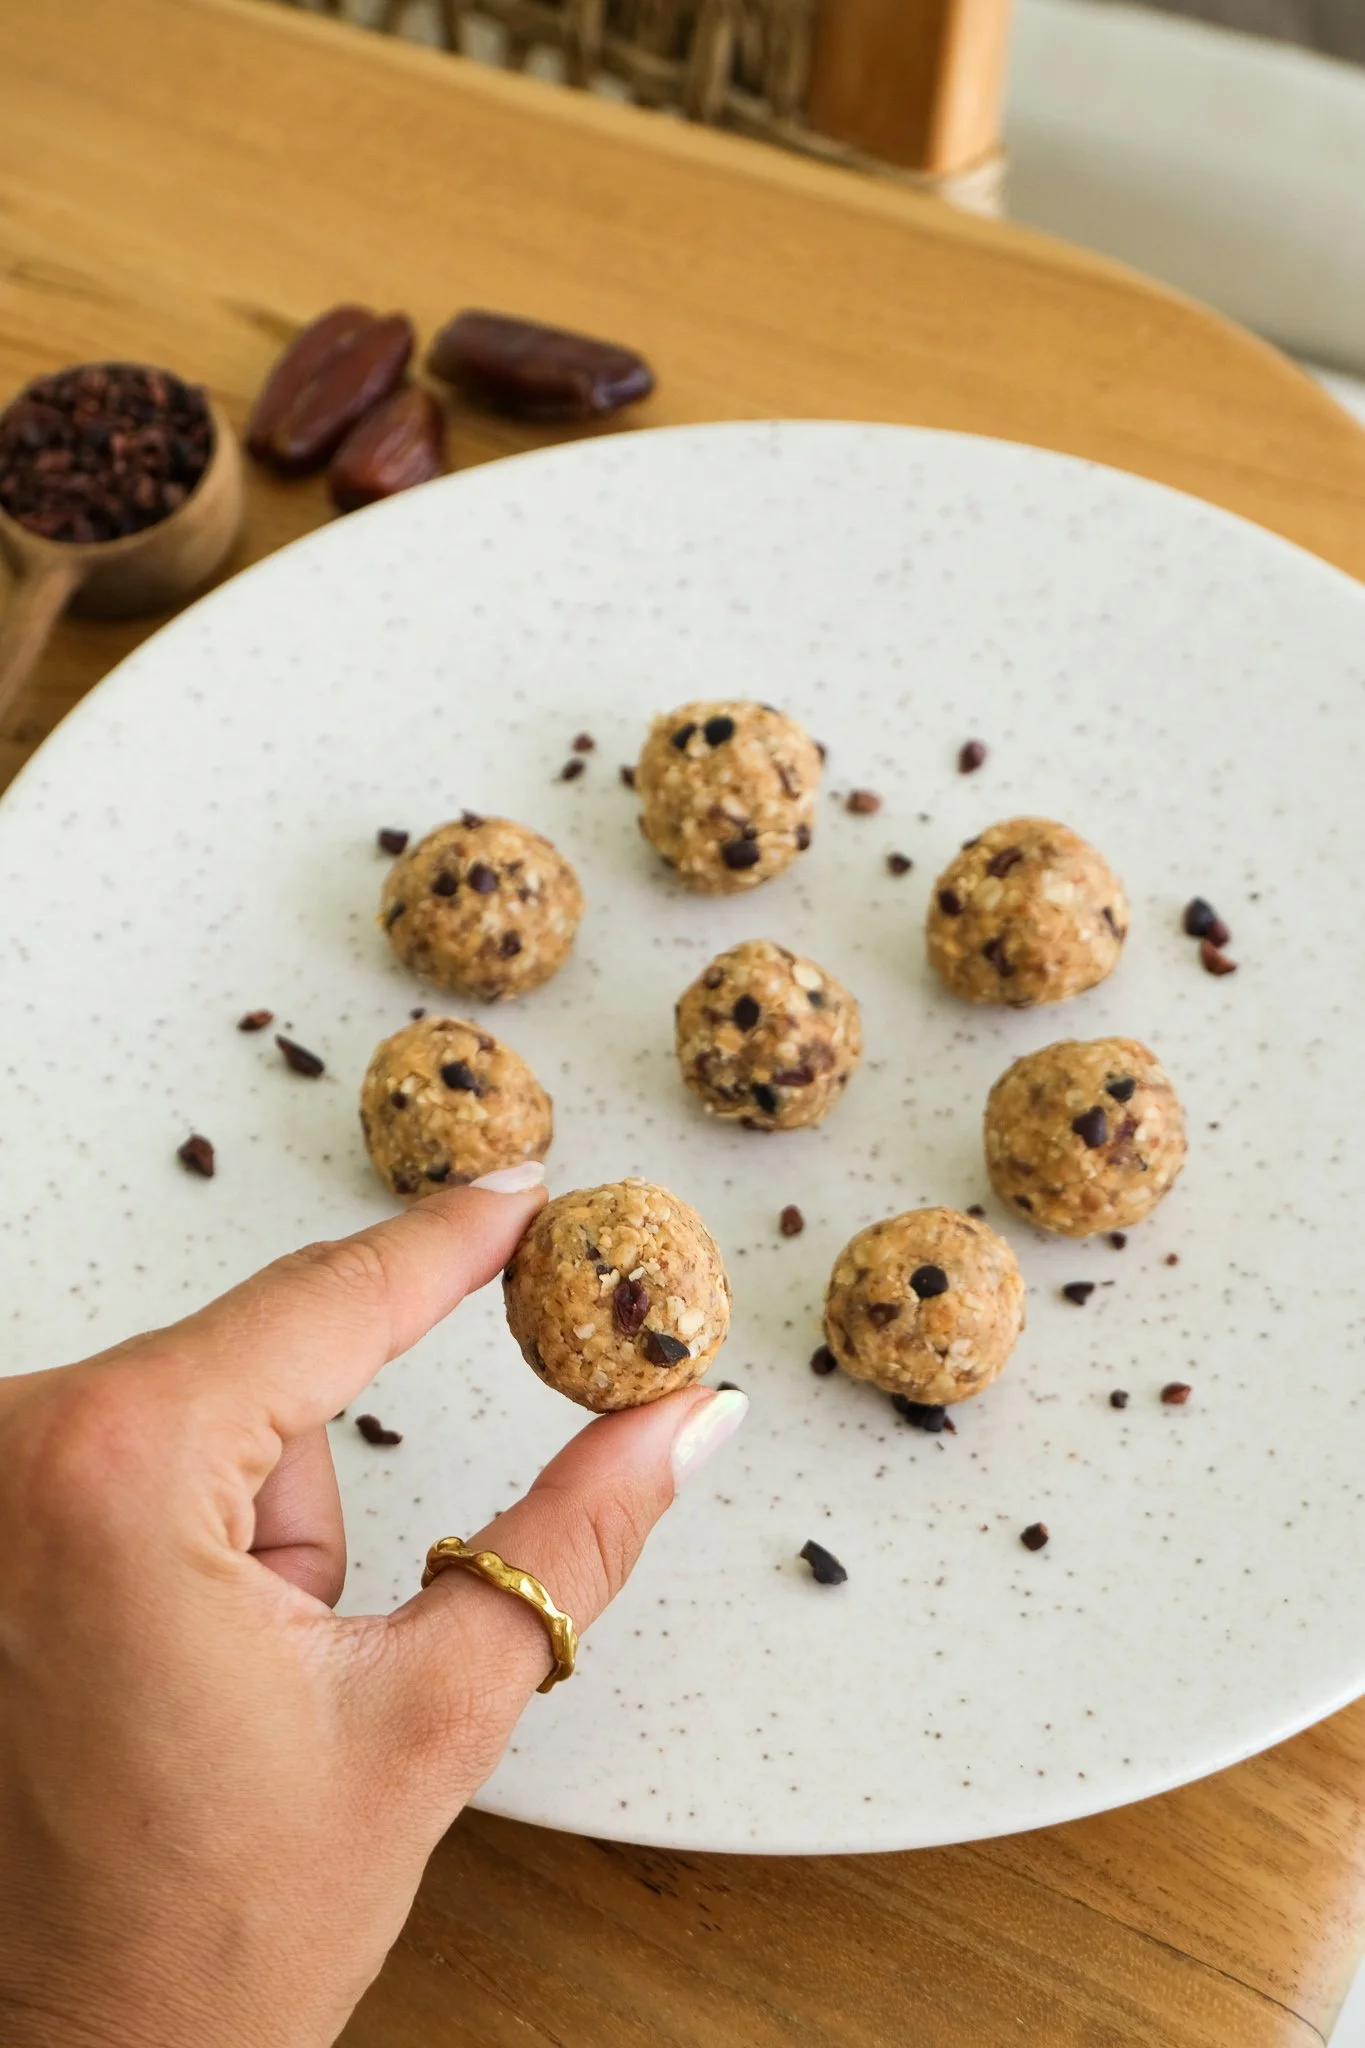
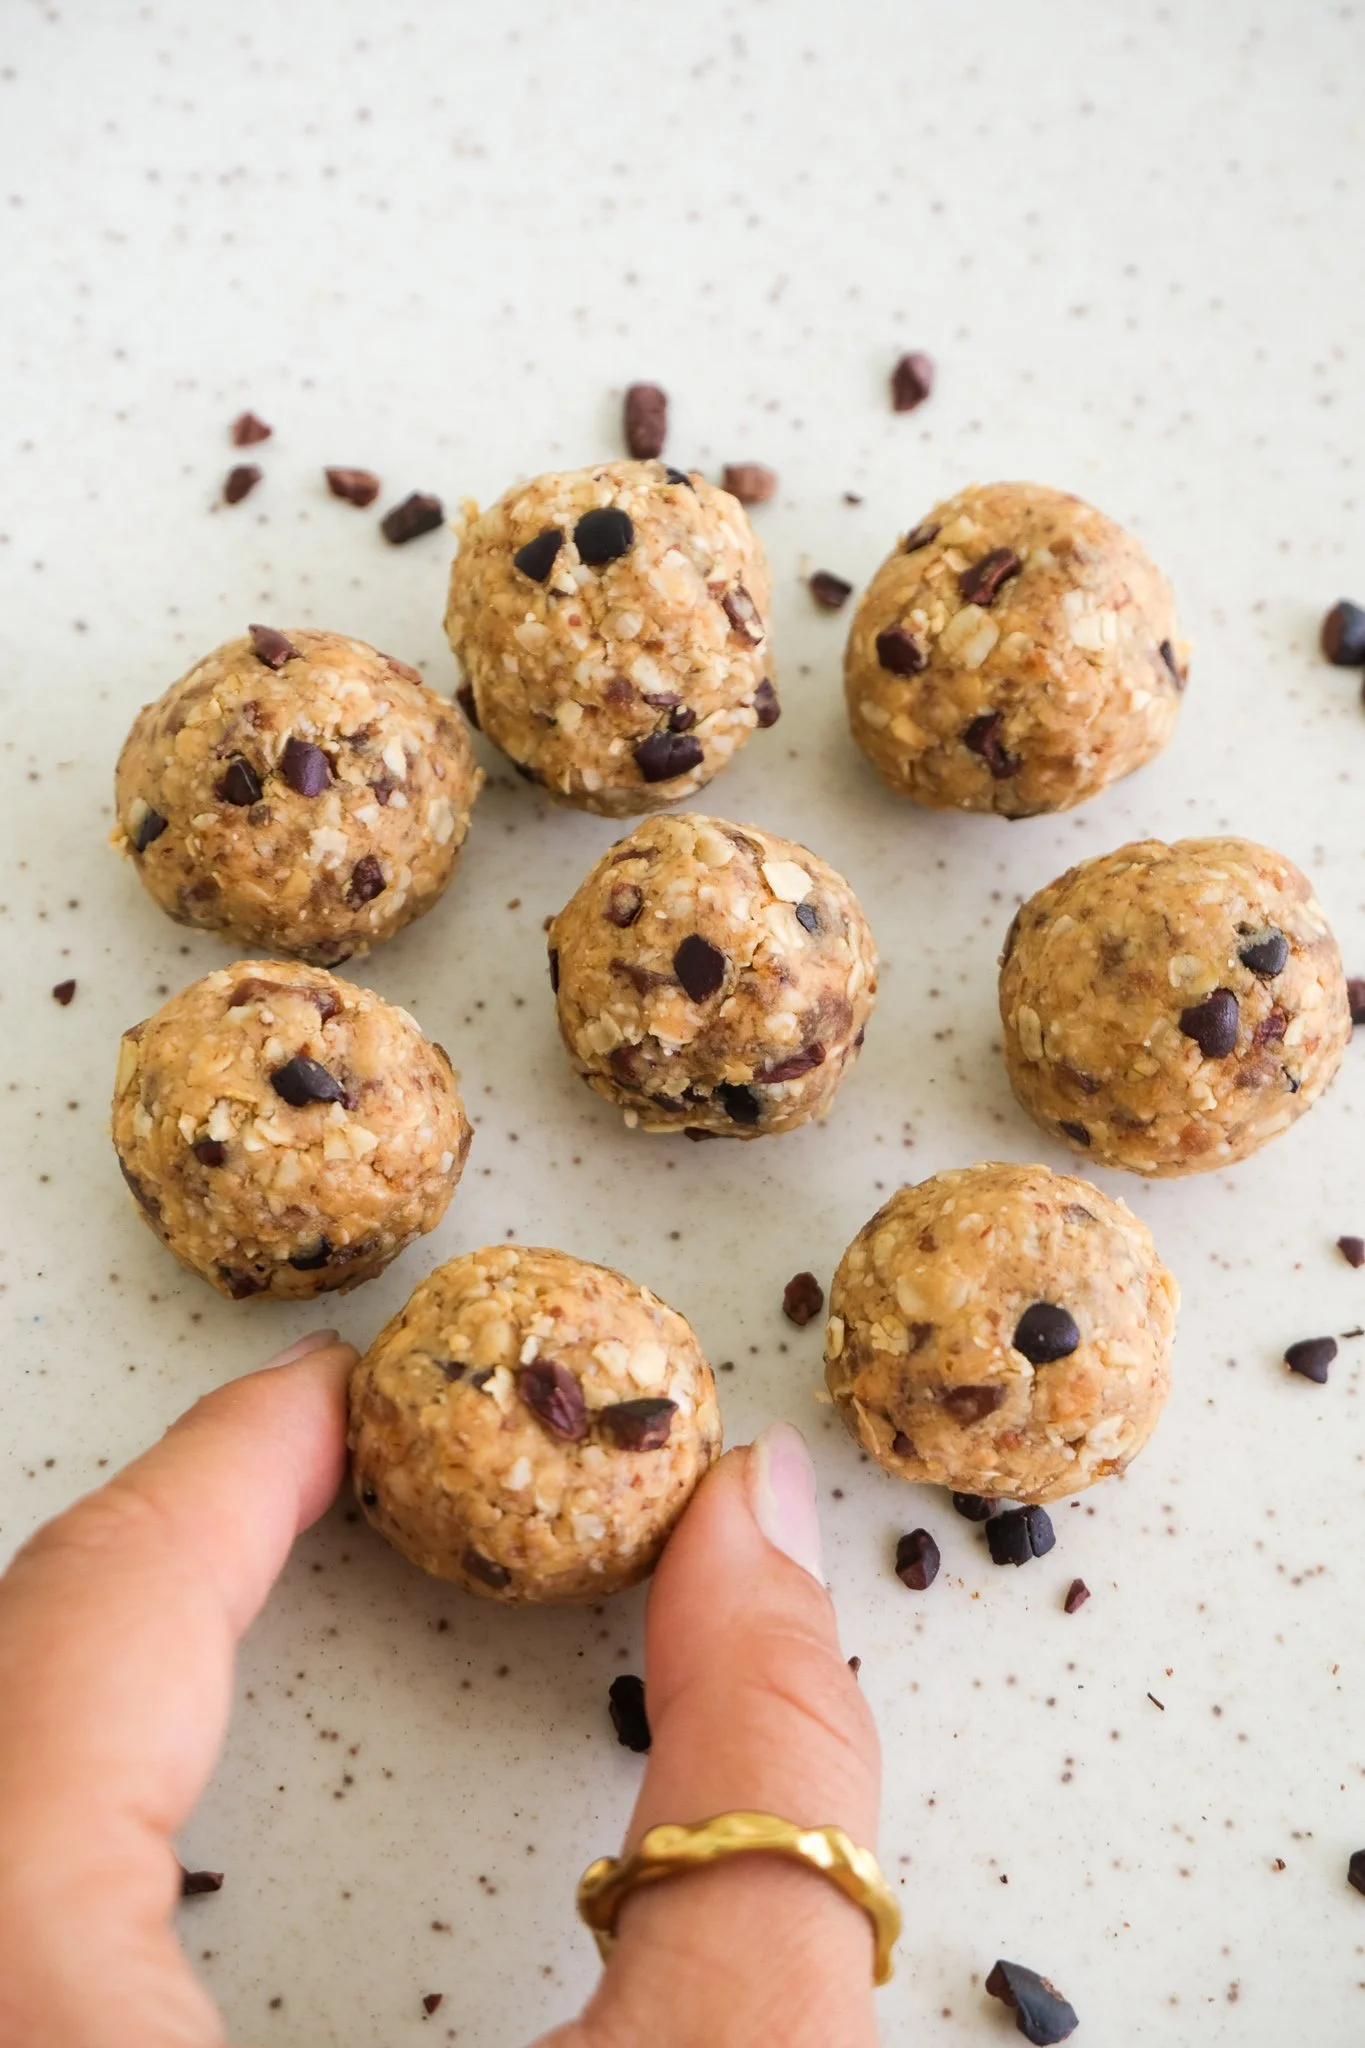
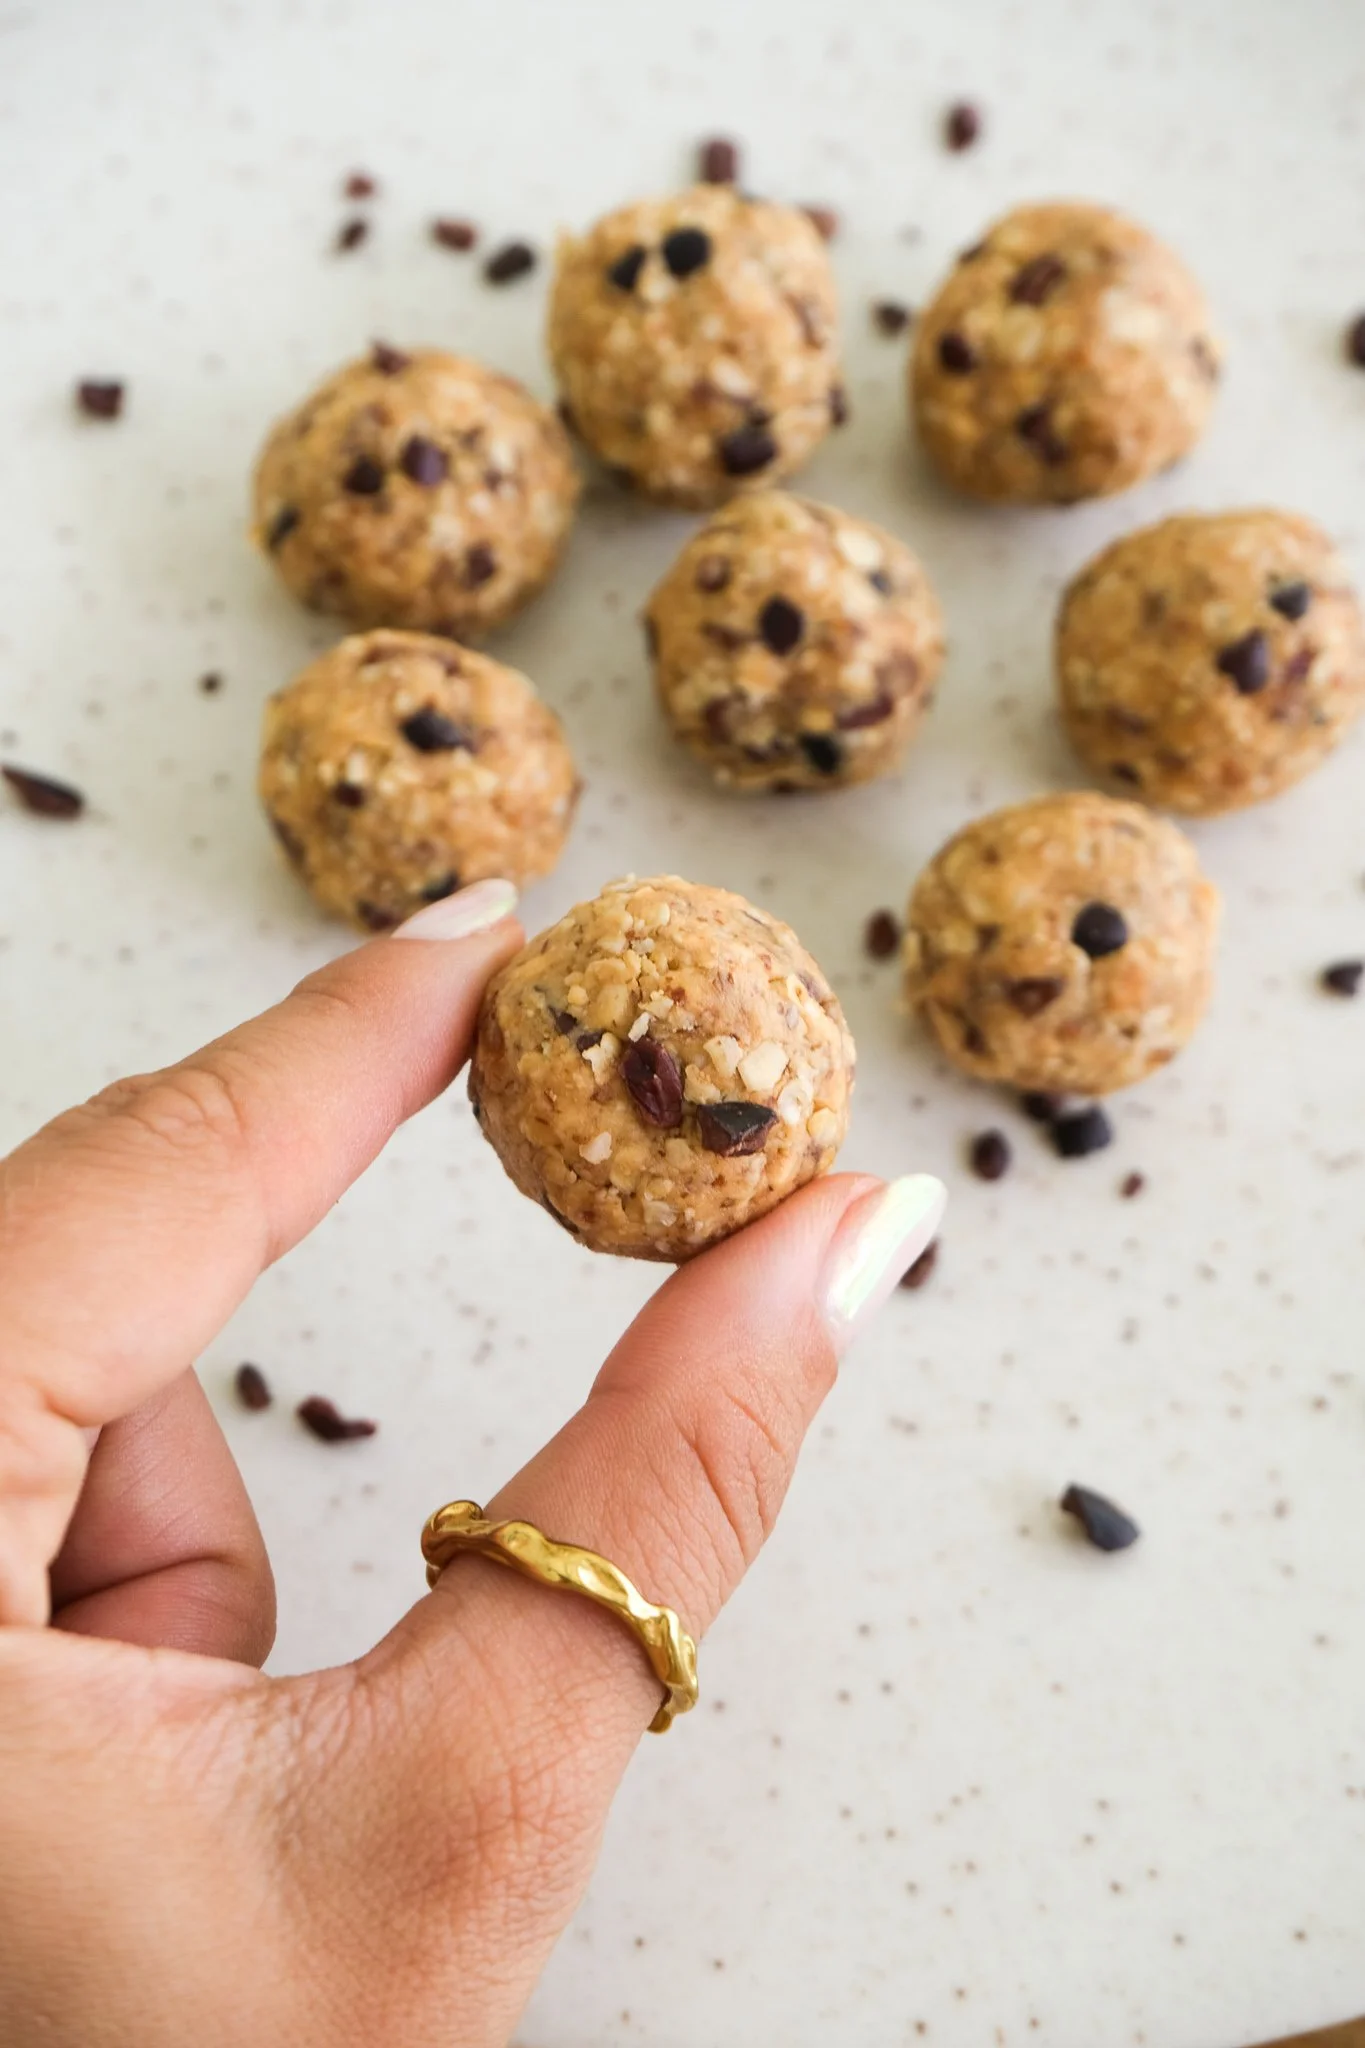
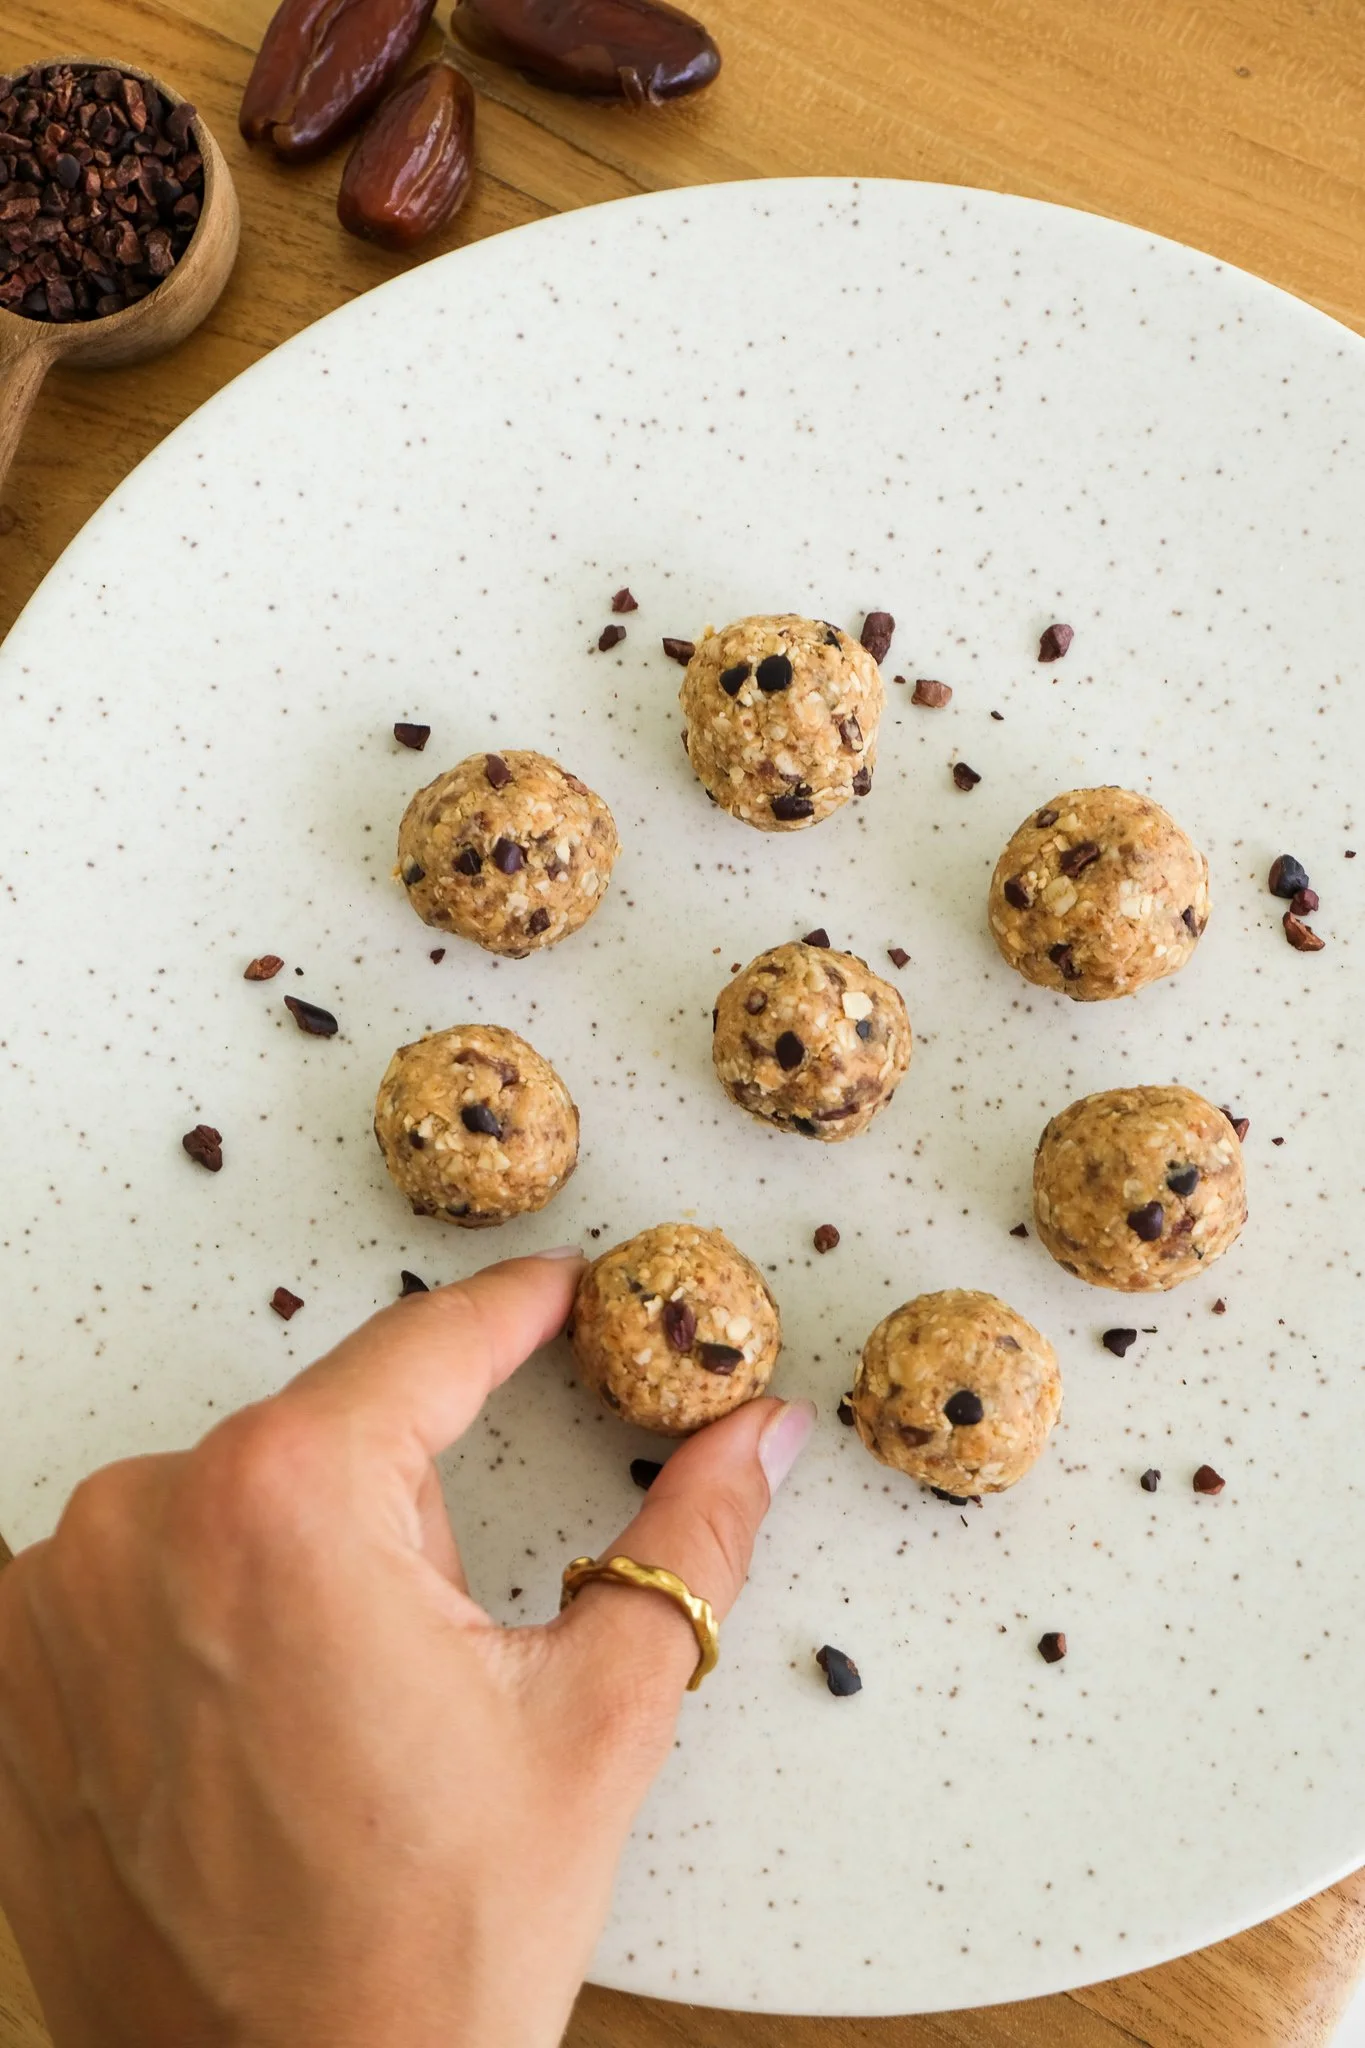
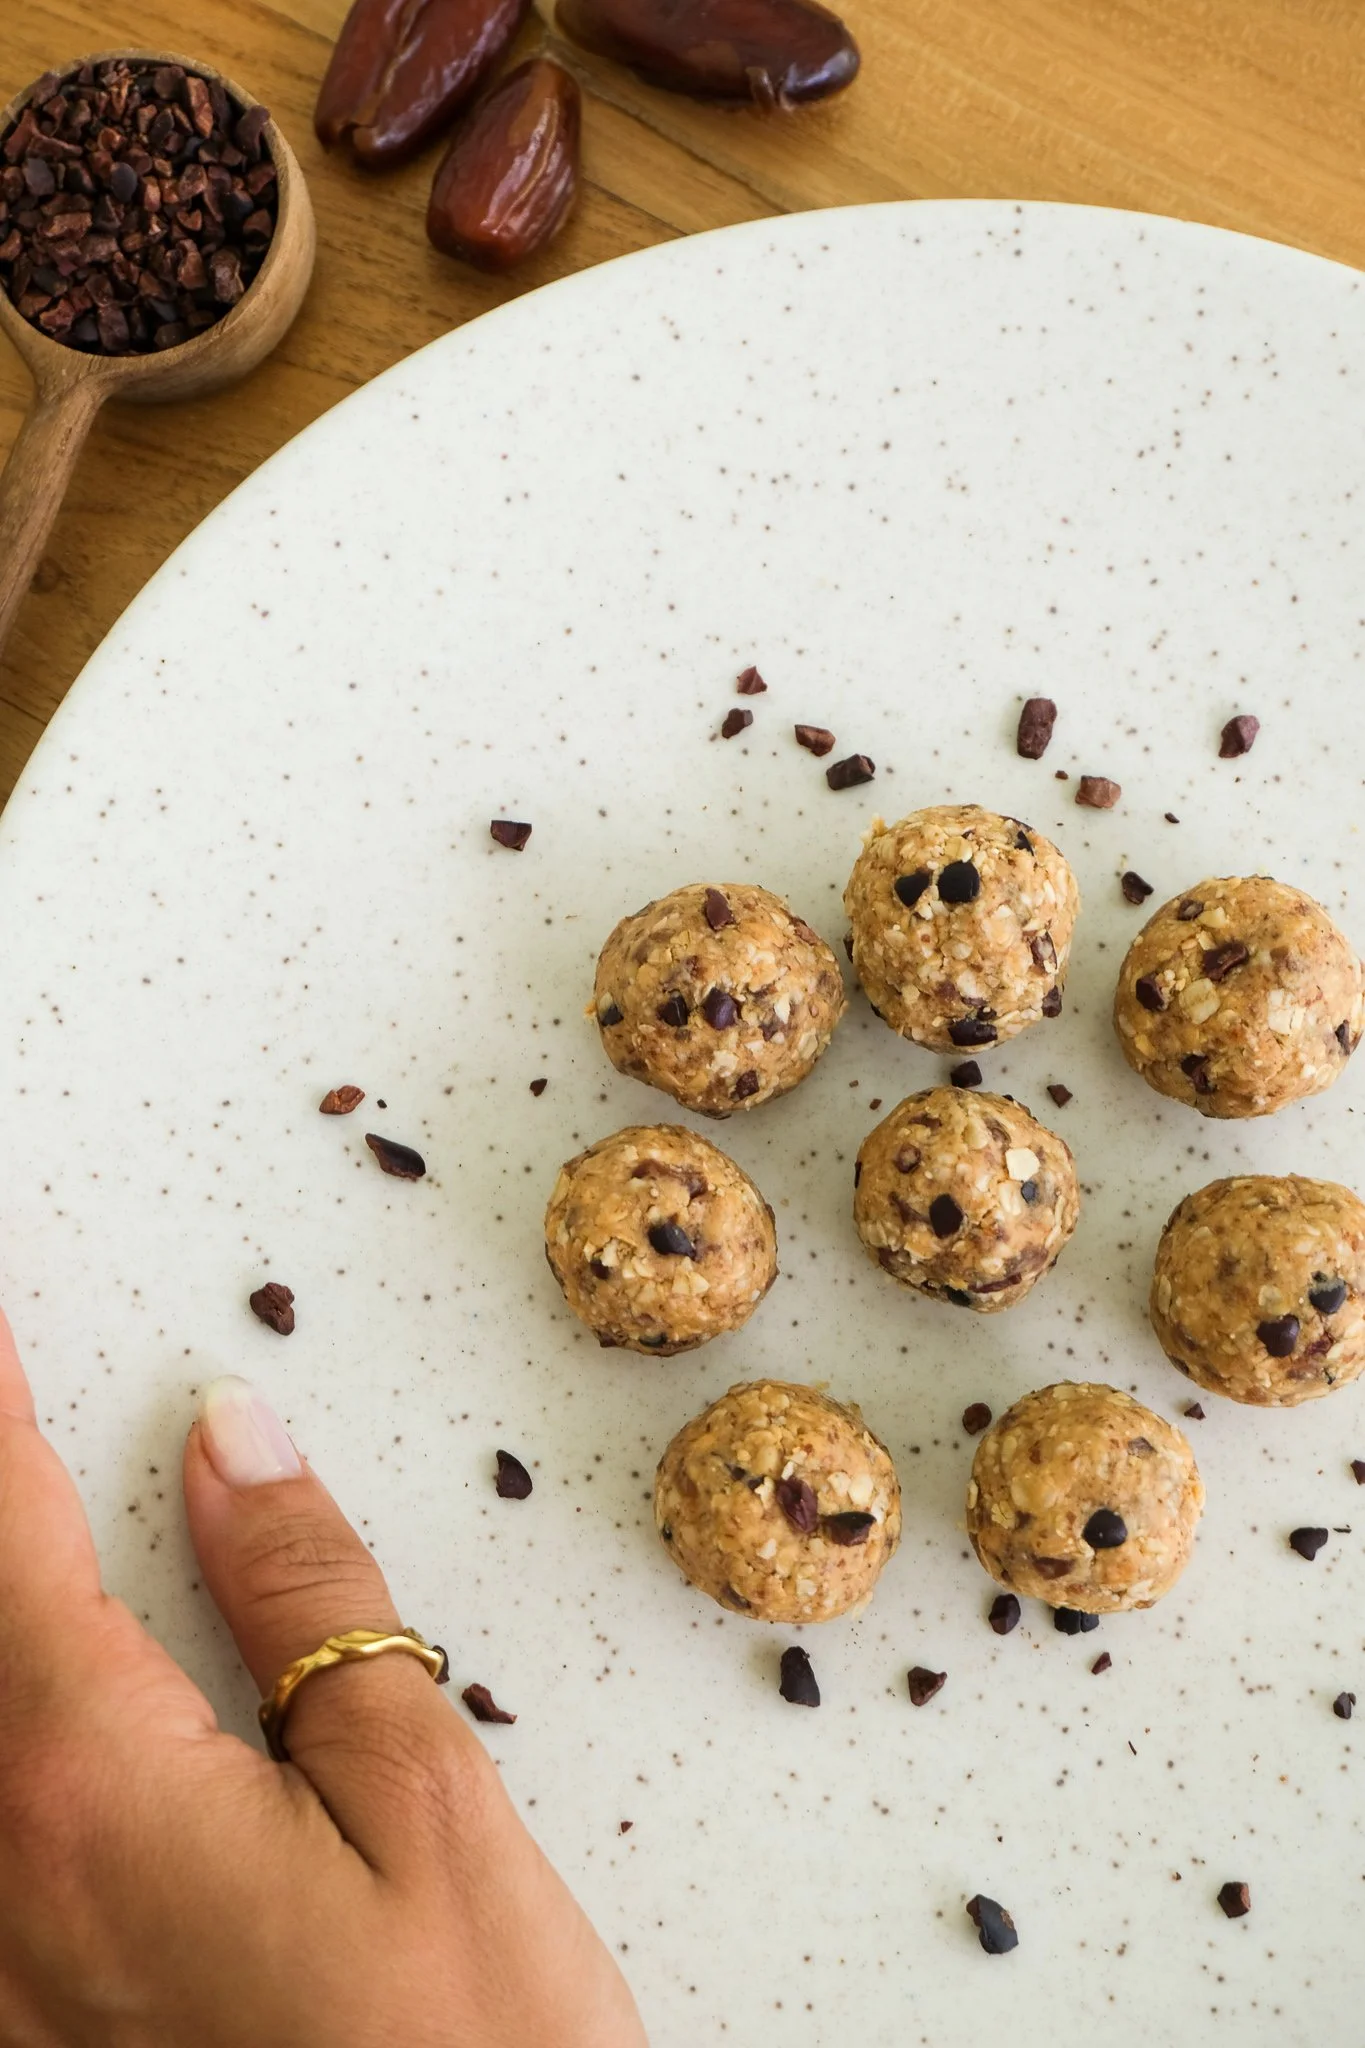
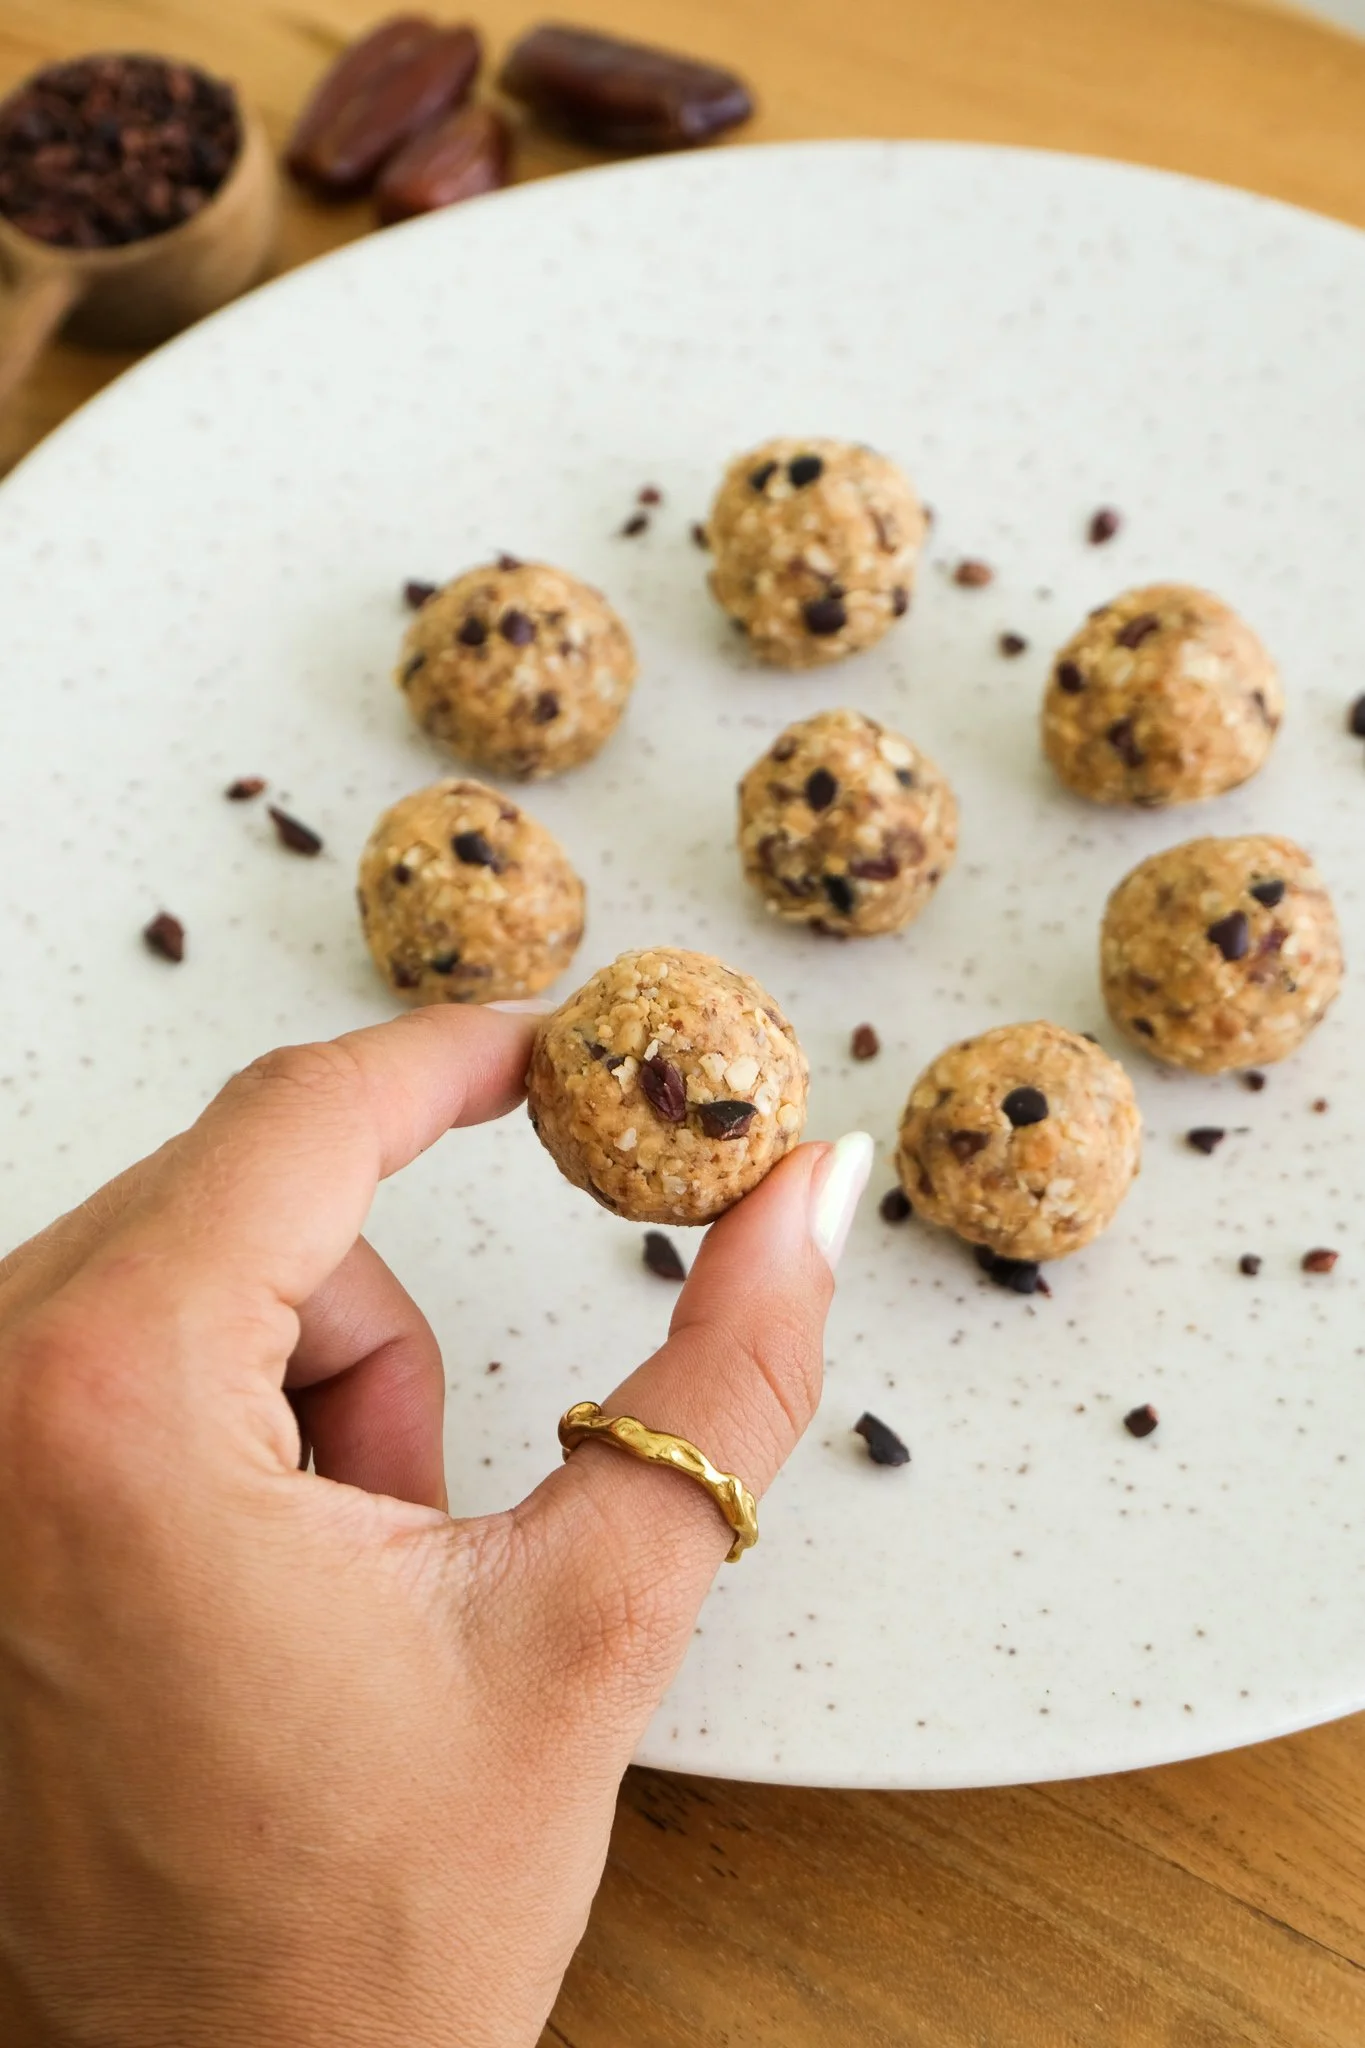
PEANUT BUTTER PROTEIN BLISS BALLS
(German below) Craving a quick, healthy, and delicious protein-packed snack? Then you absolutely have to try my favorite Peanut Butter Energy Balls! These little power balls are not only vegan and gluten-free, but they're also super easy to make—no baking required. They’re perfect for on-the-go snacking and serve as an ideal protein-rich treat after a workout or just for a quick bite during the day.
I love preparing healthy snacks so I can enjoy them either at home or on the go. This way, I know exactly what ingredients I’m putting into my body. And the best part? There are only five ingredients in these Peanut Butter Bliss Balls, and you might already have them at home! Plus, this helps me avoid "unhealthy" snacking and allows me to enjoy wholesome treats packed with protein and free from industrial sugars. The Bliss Balls also provide the energy boost I need, whether I'm out for a sunny stroll or just navigating through my daily routine— you really have to try this recipe!
If you happen to have any leftovers (that is, if you don’t devour them all in the first few days), you can easily store them in an airtight container in the fridge. This way, they stay fresh for up to a week and maintain their perfect consistency. It’s a fantastic way to have a healthy snack on hand whenever you feel a little hungry or need a quick protein boost after a workout!
What’s your favorite peanut butter recipe?
Have you ever made Peanut Butter Bliss Balls?
I can’t wait to hear from you!
Lots of love,
Magda
RECIPE FOR THE PEANUT BUTTER PROTEIN BLISS BALLS (8 PIECES)
5 chopped dates
2 tbsp peanut butter
1 hand of almonds (ground)
2 tbsp oats
1 tbsp cacao nibs
Chop the dates finely and grind the almonds
Combine the ground almonds, oats, peanut butter, cacao nibs and stir well to ensure an even mix. You can use a spoon or your hands to form a sticky dough.
Scoop out portions of the mixture (about 1 tablespoon each) and roll them into small balls between your hands
Place the bliss balls in the fridge to firm up for around 20-30’
Enjoy!
Lust auf einen schnellen, gesunden und köstlichen Snack vollgepackt mit Protein? Dann musst du unbedingt meine liebsten Erdnussbutter Energy Balls ausprobieren! Diese kleinen Powerkugeln sind nicht nur vegan und glutenfrei, sondern auch super einfach zuzubereiten – ganz ohne Backen. Sie eignen sich perfekt zum Mitnehmen und sind der ideale proteinreiche Snack nach dem Training oder einfach für zwischendurch.
Ich liebe es ja gesunde Snacks vorzubereiten und diese dann entweder zu Hause oder on the go zu genießen. So weiß ich auch wirklich immer, welche Zutaten ich zu mir nehme - bei den Erdnussbutter Bliss Balls sind das sogar nur 5, vielleicht hast du diese sogar daheim! Außerdem kann ich so “ungesundes” snacken vermeiden und vollwertige Treats vollgepackt mit Protein und ohne industriellem Zucker zu mir nehmen. Die Bliss Balls liefern außerdem die nötige Power, ob bei einem Spaziergang in der Sonne oder als Energieschub im Alltag – du musst das Rezept unbedingt auch ausprobieren!
Du kannst übrig gebliebene Bliss Balls (falls du nicht auch direkt alle in den ersten Tagen genießt) problemlos in einem luftdichten Behälter im Kühlschrank aufbewahren. So bleiben sie bis zu einer Woche frisch und behalten ihre perfekte Konsistenz. Perfekt also, um immer einen gesunden Snack griffbereit zu haben, wenn dich der kleine Hunger packt oder du nach dem Training schnell etwas Proteinreiches brauchst!
Was ist dein liebstes Rezept mit Erdnussbutter?
Hast du schon einmal Erndussbutter Bliss Balls gemacht?
Ich freue mich von dir zu hören!
Alles Liebe,
Magda
REZEPT FÜR DIE ERDNUSSBUTTER-PROTEIN-BLISS BALLS (8 Stück)
5 gehackte Datteln
2 Esslöffel Erdnussbutter
1 Hand voll Mandeln (gemahlen)
2 Esslöffel Haferflocken
1 Esslöffel Kakaonibs
Datteln fein hacken und die Mandeln mahlen
Gemahlenen Mandeln, Haferflocken, Erdnussbutter und Kakaonibs und vermischen, damit eine gleichmäßige Masse entsteht. Mit einem Löffel oder den Händen alles zu einem klebrigen Teig formen
Ca. 1 Esslöffel für Bliss Balls zwischen den Händen zu kleinen Kugeln rollen
Bliss Balls im Kühlschrank ca. 20-30 Minuten lang fest werden lassen
Genießen!
